

|
|
|
|
|
|||||||
| Electrics & Lighting All discussions related to bike electric, lights, bulbs, fuses and wiring. |
|
|
Thread Tools | Display Modes |
|
#
1
 14-11-09, 13:20 14-11-09, 13:20
|
|||
|
|||
|
Fitting XTX BikeVis Bullets
For any of those who may be interested. I don’t pretend to have the skills of some of the people on this forum but I have gained some modest experience. I still remember when I had my CG125 and no clue. Adjusting the chain tension was a slightly nervous adventure, never mind stripping the drum brakes (remember them) to clean them out and check the shoes (like pads but much bigger). Making the decision that I could give it an oil change and basic service was a big step, and most of this was only possible due to people who were prepared to give me a hand and some instruction. Anyway this is intended to be a how too for the nervous novice who, like me, may find the courage if armed with a set of idiot instructions.
If you think that this is too much, more text explanations needed, less or more pictures then constructive criticism welcome. I decided to get some of those rather fetching Bike Vis Bullet lights to make myself more visible. http://www.bikevis.com/discount-xt660.html. This is my record of the installation. Hopefully it will be helpful to anyone wanting to do the same and isn’t sure. Mine are on now but if anyone has any suggestions or tips that may be an improvement for others then chip in. I decided to mount mine on the widest part of the fairing to give the black bike a bit more width and presence at night. First with the fairing on the bike I used a spirit level to make a horizontal guide mark so that I could orient the fairings when I took them off the bike to work on. I knew I would be mounting the lights with the fairings removed and wanted them horizontal to the bike. 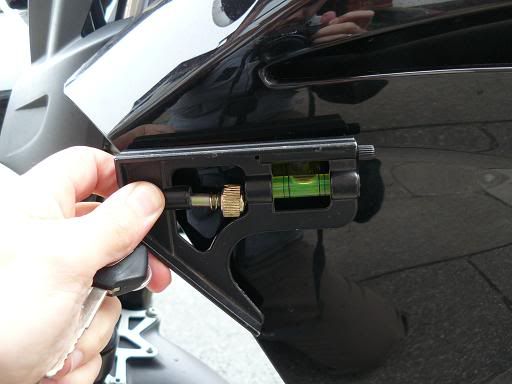
Next the fairings came off and inside where it was warm. I knew I wanted the light mounted far enough back that the wire would be behind the bracket that mounts the fairing pieces you can see from the front, either side of the engine. A quick check confirmed that 40mm would be just right. 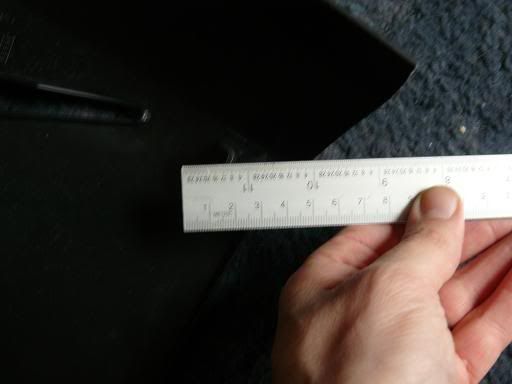
I placed the fairings down with the front facing each other. I then used a rule to make sure that they were horizontal to each other using the guide lines from stage one and measured 40mm back from the edge of the outside top of the panel. 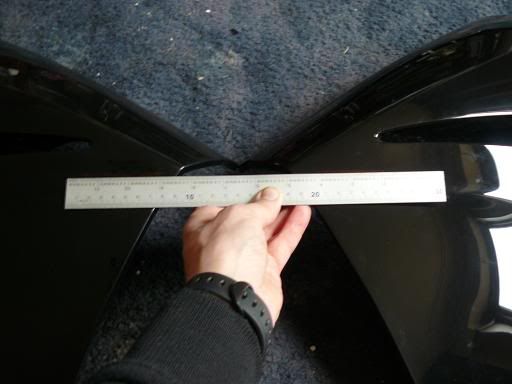
Then I conformed the width of the wires for the hole that would be needed. 4mm 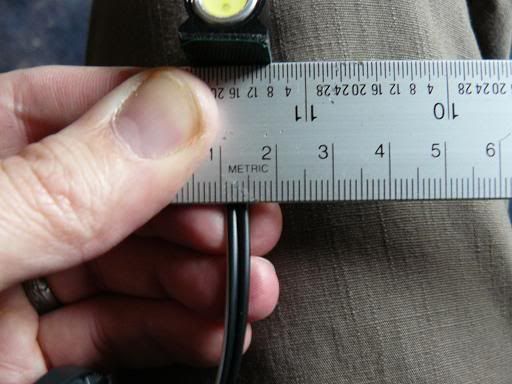
Here you can see the hole from the inside of the panel. Positioned just back from the bracket. 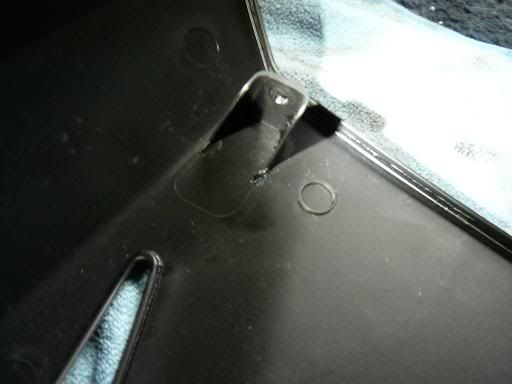
Light mounted on the outside of the panel. I don’t think this looks bad on the black panel. Others may think it was too obvious on a panel of another colour. I’m happy with this. 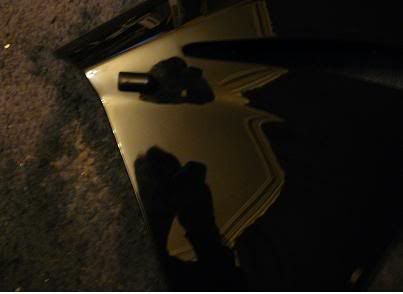
I knew that after fitting these, if I wanted to make taking the fairing off simple, I would need to break the wire and add a plug. I found some good connectors from these people. http://www.vehicle-wiring-products.e...connectors.php . The connectors come separated and you build them your self as the spade connectors need to be crimped to the wire before being pushed into the socket. The female spades go into the wire using the male socket and visa versa. 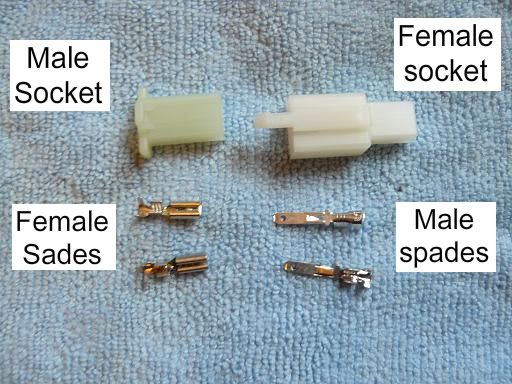
I cut the wire at about 60mm, so it wasn’t hard up against the fairing and I could move the fairing a little before having to disconnect the plug. Strip about 5mm of insulation from the wire and then crimp the inside tabs of the spade around the exposed wire and the outside tabs around the insulated wire. The spade connectors only lock into the socket one way, and I made sure that the spades were ‘the right way round’. By this I mean that when mounted in to the socket the locking tab of the socket wasn’t facing the fairing. This is the spades on the cut wire. 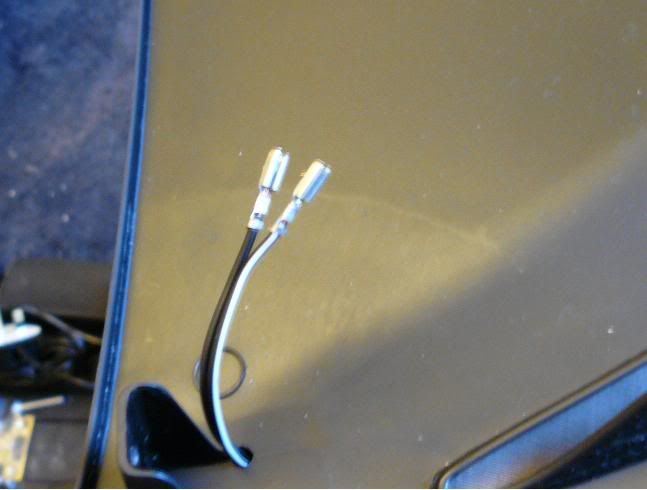
The socket simply pushes on and locks against tabs on the spades. 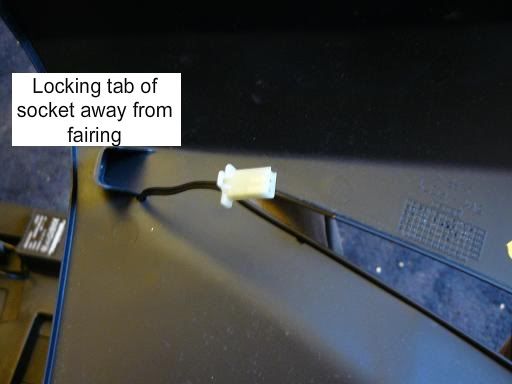
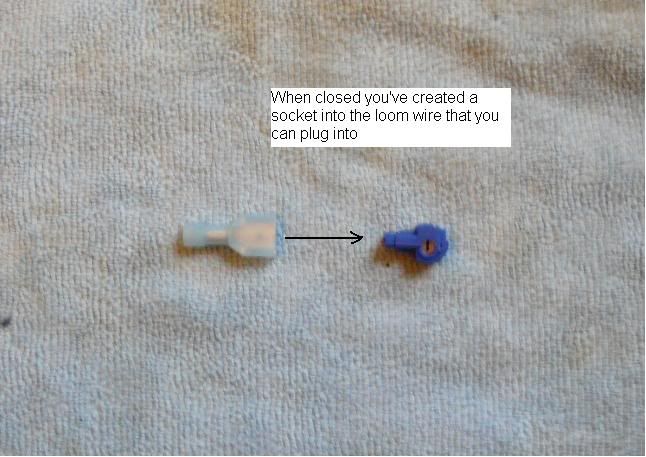
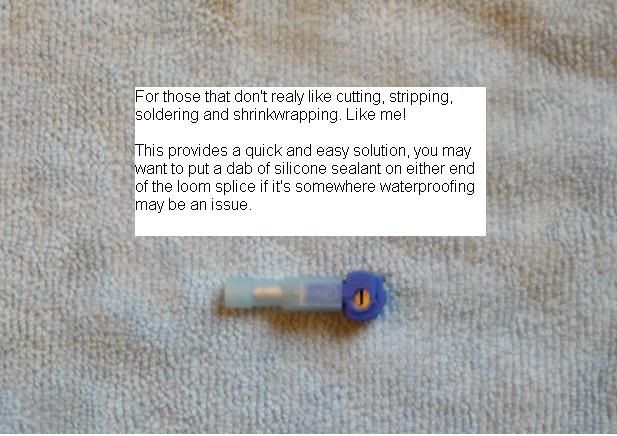
That’s the lights mounted onto the fairing panels and I’m happy so far. I wasn’t sure just how much wire I would need to reach to the loom but I was sure I had more than I needed and didn’t really want the excess. So I decided to connect to the loom with the wire I had cut off and then run it where I needed to connect to the light, add a little for safety and cut the excess. Now I don’t really get on with cutting into my bike loom and soldering it back together with heat shrink to protect the join and all that. Probably just not enough experience. So I took the cowards way out and got some of those neat little tap connectors for splicing into wires (I ordered them with the connector blocks, http://www.vehicle-wiring-products.e...connectors.php). I went with the second type as the join was removable and I wanted to try them. It seemed easier to squeeze two wires onto the splice using this as well. 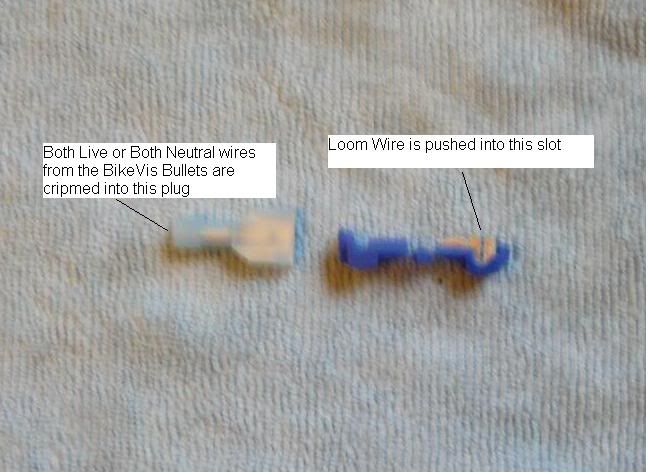
Last edited by Bishop0151; 15-11-09 at 14:08. Reason: Swapped BikeVis link for forum discount link, thanks Uncle Ricky |
| Thread Tools | |
| Display Modes | |
|
|
|
|


 Threaded Mode
