

|
|
|
|
|
|||||||
| Preparing Your Bike For a Long Distance Trip List here all the essential add-ons required to make sure you have all you need on your long distance trip |
 |
|
|
Thread Tools | Display Modes |
|
|
|
#
1
 05-08-10, 22:45 05-08-10, 22:45
|
|||
|
|||
|
Home made pannier frames
After meeting big Dave (monty) at the lakes meet he got very happy about my tin panniers and the homemade pannier frame and asked me to post up some photos about it.
First of all i bought a set of panniers from http://www.bykebitz.co.uk/acatalog/A...le_Sizes_.html i think it looks like the sizes might have changed a bit but i was sure mine where 48ltr panniers but anyway they where cheap and massive so did the job for me. I then bought a couple of lengths of 12mm solid steel bar and a length of 3mm thick by about 20mm wide plate steel. Along with a hand full of 8mm s/s bolts of at least 40mm length + (cut them down if i didnt need the length) Anyway, i basically stick an A3 page to the pannier box and measured in equal distance each side and formed a rectangular outline of the frame rails. I tried to keep them as big as possible so its had more to hold on to but the corners of the panner curve so i had to shorten them a bit more than i would have liked. Anyway i removed the page and got an old large plate of steel and drew the measurement on this then tac welded a few pieces of round steel bar i had on the inside of each corner and then also just before and after a corner on the outside (this is to make sure that once you done one corner the striaght doesnt try and bend when you go on to the next one) Using a very hot blow torch i heated each corner one by one and bent it around the tube steel untill i finally formed the main outer of my frame along with a long tail section from the start which is later bent into position to fit onto the rear peg holder. I then made the small curved bracket from the 3mm plate steel which attached on near the middle of the top frame allowing me to bolt onto the rear rack holder. Once this was attached i then made a longer flater bar for the other rear rack holder bolt (just make sure you hold the frame as the right angle cause once youve both attachements on you cant twist/bend the frame) I then heated and bent the tail of the frame to the rear pillion peg moving it around the exhaust, i cut it short of the bolt then taced on a 3mm plate steel section with a bolt to attach it too the pillion rear peg. This was done for both sides and i made a small cross brace that ran around the rear wheel by welding two small plates on the rear of both frames and then getting a 12mm bar placing around two 30 degree bends in it and cuting a shunting a plate steel section on. Once the frames where all on i section small sections of plate steel to go diagonally across the corners with holes in to bolt the panniers too. I kept the plate flush with the outter most side of the 12mm bar so it would pull on the tin of the pannier. A larger A3 page was placed on the pannier again it placed up againist the frame making sure the lid ran at the hieght and angle of the rear seat and then pencial marks placed with the holes of the angled plate steel section are. I pre drilled this holes with a 3mm drill bit first then pop riveted on some larger/thicker plate aluminmum i had to allow the bolts to pull on sometime stronger than the tin of the pannier. Once these where on i redrille the small holes again and then reemed them out to the correct size for an 8mm bolt. I stuck a few bits of old rubber over the angle plates on the pannier frames with a hole in them to seal the bolts in (ie to stop water getting in) and also to allow it the pannier and frame to flex a bit with out to much pressure on both. Heres a few photo which hopefully with help explain all this waffle. What the pannier looks like from the inside once all bolted up. I just used some large washers to try and spread the load even more. 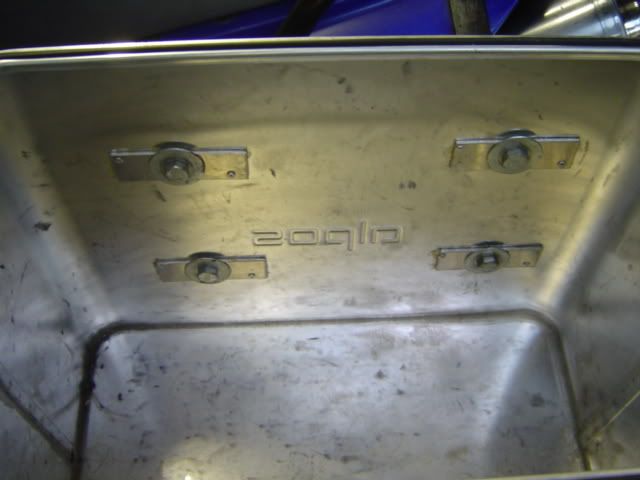
The back side of the panniers showing the bolt and a lock threaded nut and small washer 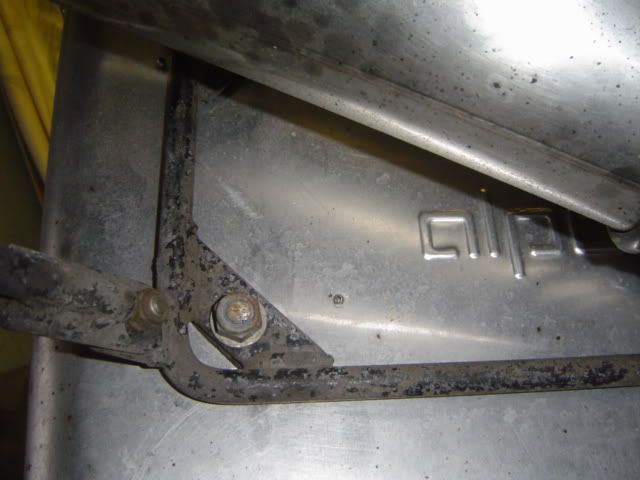
lock nut, small washer, big washer, and cut 8mm s/s bolt 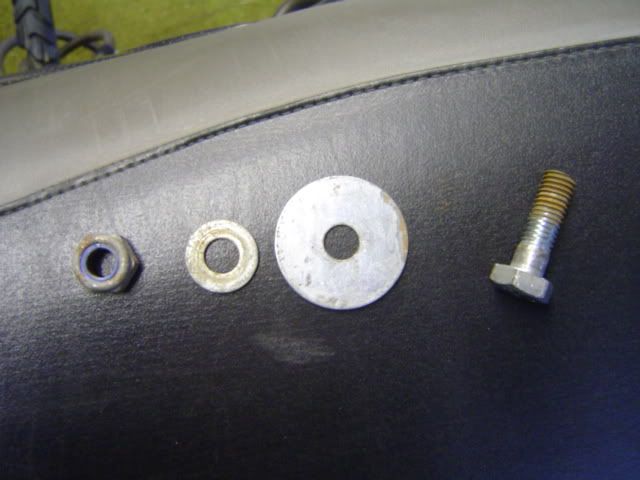
4 pop rivets on the inside of the pannier holding thick plate of aluminmum which is used to spread the load on the tin to the frame. 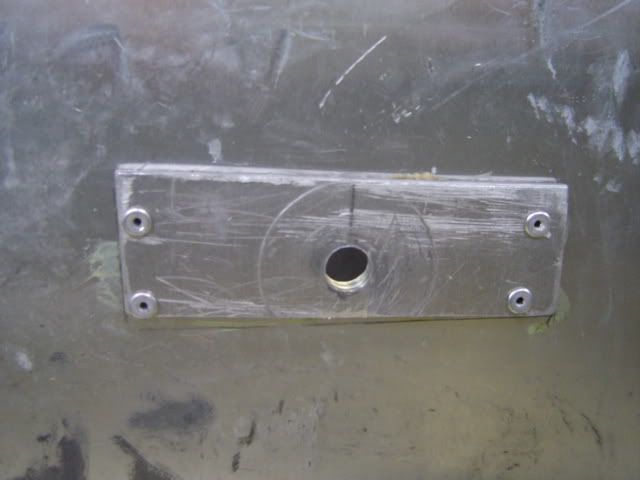
outside of the pannier where the pop rivets are. Got lazy and started using 2 rivets!!! 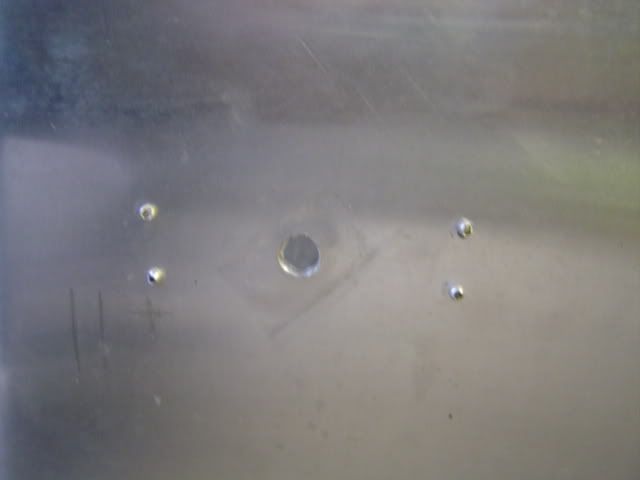
Side view of the pannier frame once completed. 3 point of contact with the bike. Top left on the rear rack. Middle on the forward most rear rack holder. Lower right on the rear most bolt of the rear pillion pegs. Also note the rear wheel cross through bar. 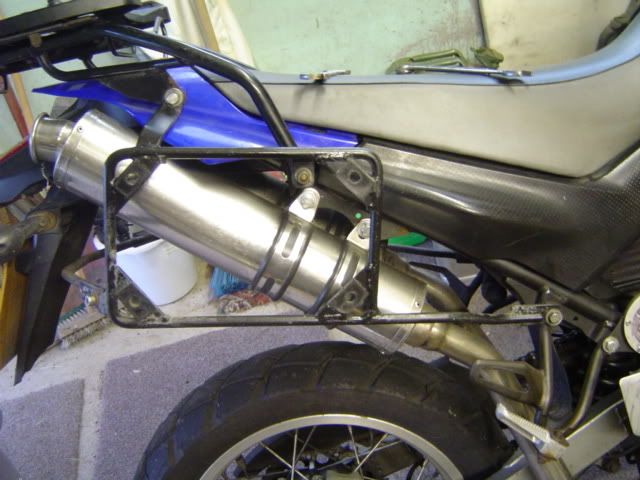
Another angle to see the frame 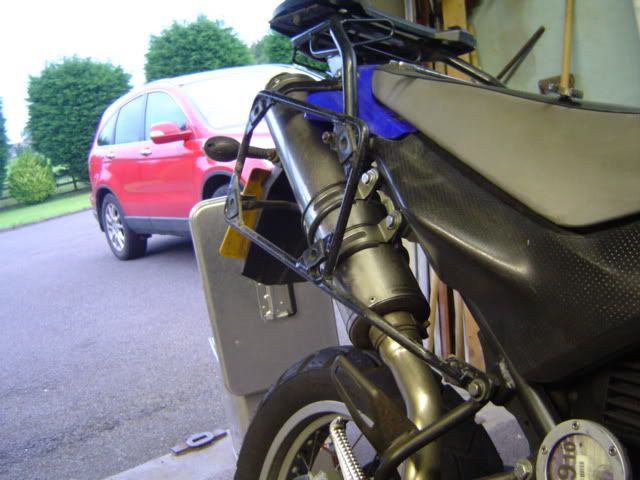
Close up of the middle connection point to the rear rack. Took a while to bend this around as it had very little to hold on too. 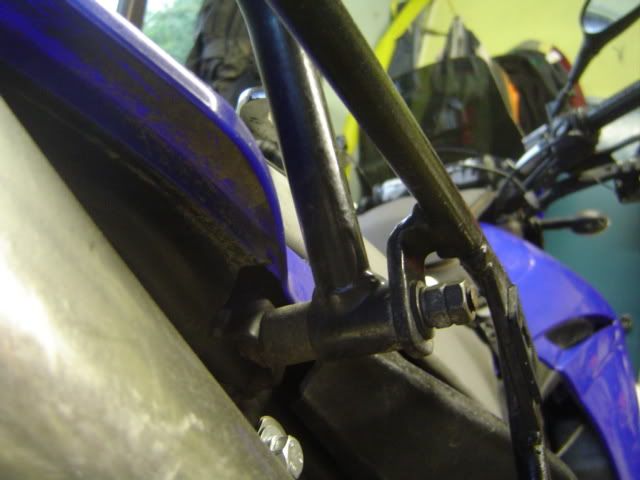
Close up of rear pillion peg, i used one large length of 12mm steel and just left a tail out for the pillion peg connection and bent the steel around the exhaust and as can be seen cut the bar short and welded on a plate for the bolt. 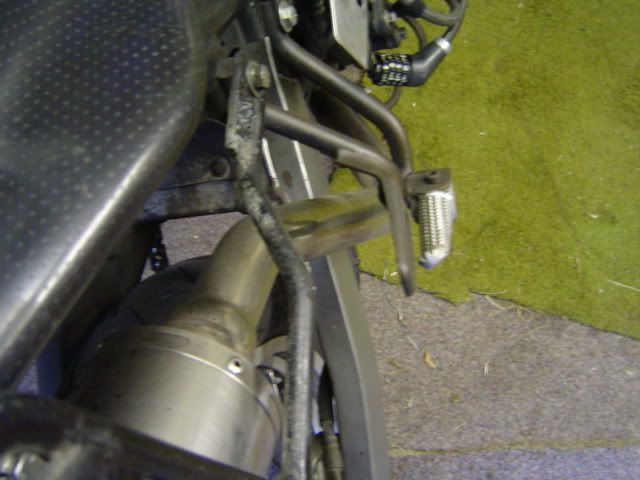
Close up of rear connection point on to the rear of the rack. 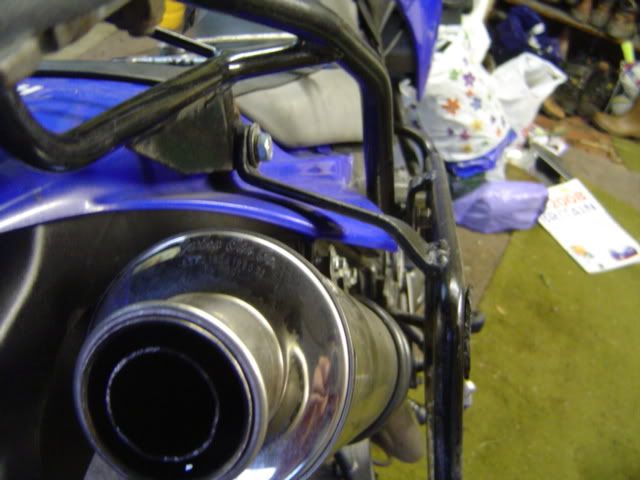
Another angle showing two connection points 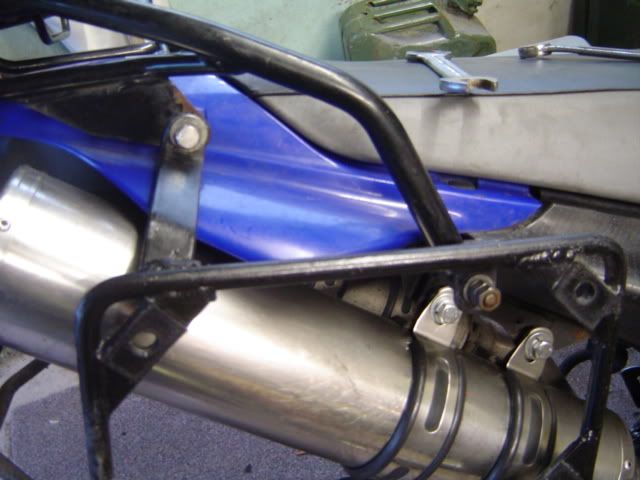
Cross bar through the rear wheel section 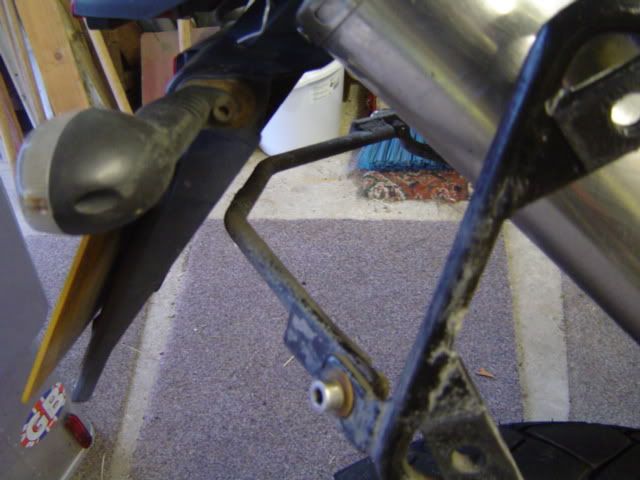
Close up of the two plates one from the rack and then one from the bar placed across the middle. Held in place with a 8mm bolt. 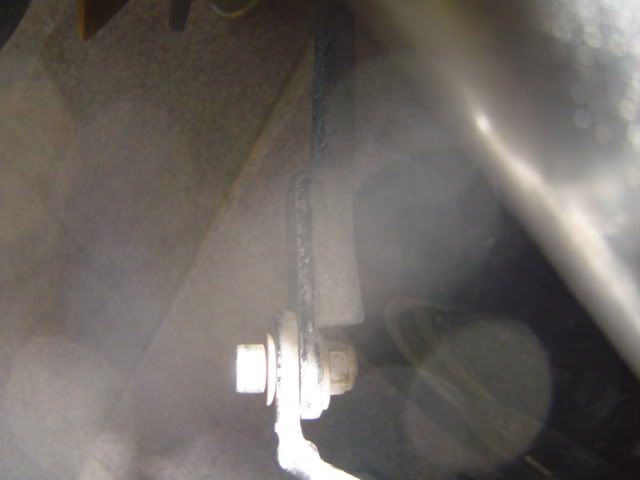
Close up of the angled plate used on the corners for connecting pannier to the frame 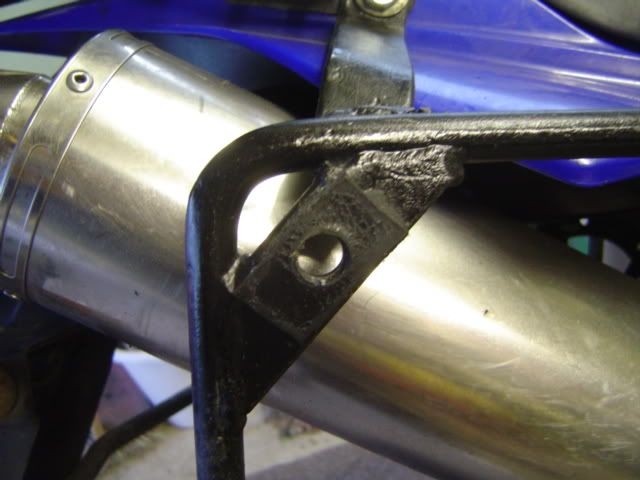
Make sure to give your self a good 30mm+ of a gap from your exhausts so you can get your hand behind the frame to hold the nut on the bolt to attach the panniers. 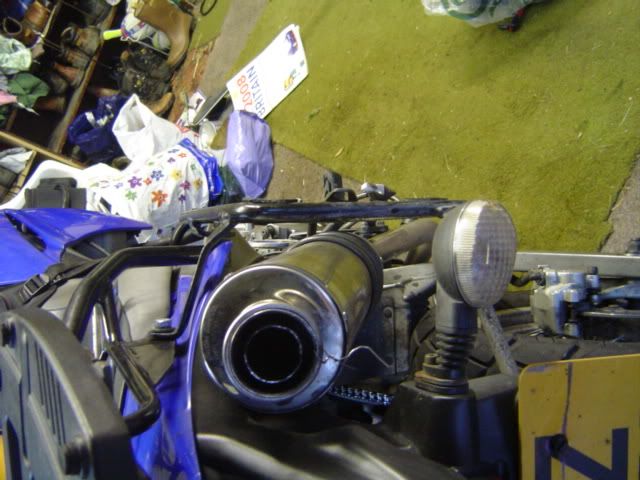
Im sure this is all double dutch to you 
__________________
 Plough on Plough on
|
|
#
2
05-08-10, 23:54
|
|||
|
|||
|
Brilliant
|
|
#
3
06-08-10, 00:05
|
|||
|
|||
|
Its not double dutch! Good guide 'numbers', thanks for taking the time to share this with us all!
__________________

|
|
#
4
06-08-10, 00:12
|
|||
|
|||
|
well maxwell looks like me and you have had the same ideas ive done same as you but ive used u bolts round the pannier frame to hold them on. even the same alops panniers nice
|
|
#
5
06-08-10, 09:37
|
||||
|
||||
|
Thank you Maxwell## - I'd say that beats TT's �650+ prices for the complete kit and MM's equally pension-busting offerings.
Time to get the welder out if I can remember how to use it (and if it still works). 
__________________
My Mods | TLC | A good spannering | Kev's brilliant Mods & advice via XTSupporters - Best �10 ever spent.  Lucid Puppy && SeaMonkey - Wubi - Lucid Puppy && SeaMonkey - Wubi -
"Strive to be the person your dog thinks you are" |
|
#
6
06-08-10, 21:55
|
|||
|
|||
|
Quote:
No probs to everyone, hopes this helps as i priced MM panniers and with the exhaust conversion (2 into 1) it was costing over �1000, too much for me. Personally if you have the welder and blow torch i think this would cost less then �300. Ok it takes 10-15mins to take the panniers off but how many time do you really need to take then off on a weekend trip or week + trip?
__________________
Plough on
|
|
#
7
06-08-10, 23:32
|
|||
|
|||
|
Quote:

Only joking Dave, its a good write up and its certainly inspired me, I wont be paying over the odds for a factory made rack.
__________________
I'm always in the sh1t, only the depth varies 
Last edited by stumpydave; 06-08-10 at 23:40. |
|
#
8
07-08-10, 10:01
|
||||
|
||||
|
Quote:

I knew I shouldn't have confessed to finding my snap-ons  in a computer box. You'll get to my age in a computer box. You'll get to my age
 and beyond and beyond
 if you ride safe. if you ride safe.
__________________
My Mods | TLC | A good spannering | Kev's brilliant Mods & advice via XTSupporters - Best �10 ever spent. Lucid Puppy && SeaMonkey - Wubi -
"Strive to be the person your dog thinks you are" |
|
| Thread Tools | |
| Display Modes | |
|
|
|
|


 Hybrid Mode

