


 |
 |
 |
|
|
|
|||||||
| XT660Z T�n�r� Tech Section Tyres, Mods, Luggage & Long distance preparation |
 |
|
|
Thread Tools | Display Modes |
|
|
|
#
1
|
|||
|
|||
|
Replacing rear shock
My new Wilbers shock arrived last week and I had some time today to install it. I took some piccies while I was busy so I figured I would make use them in a basic howto on shock replacement.
So here's the plan. Replace this gritty old thing: 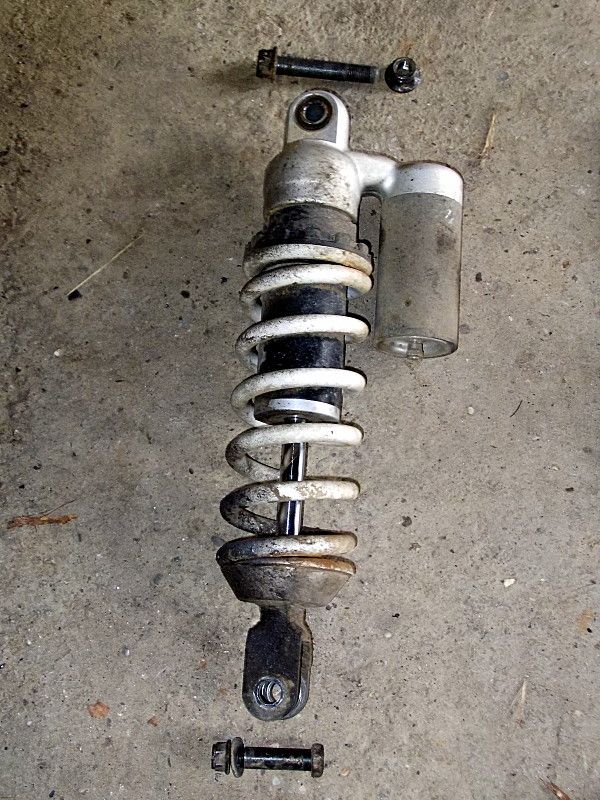
with this piece of bling: 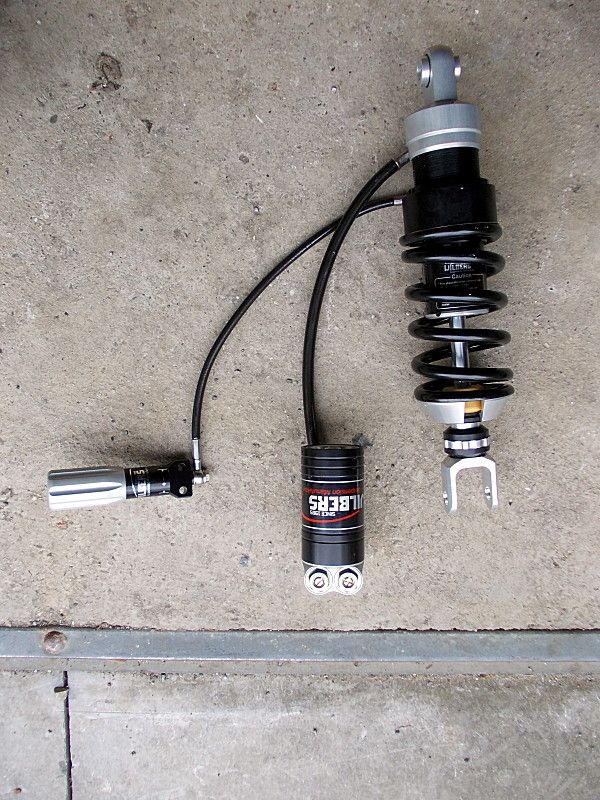
|
|
#
2
|
|||
|
|||
|
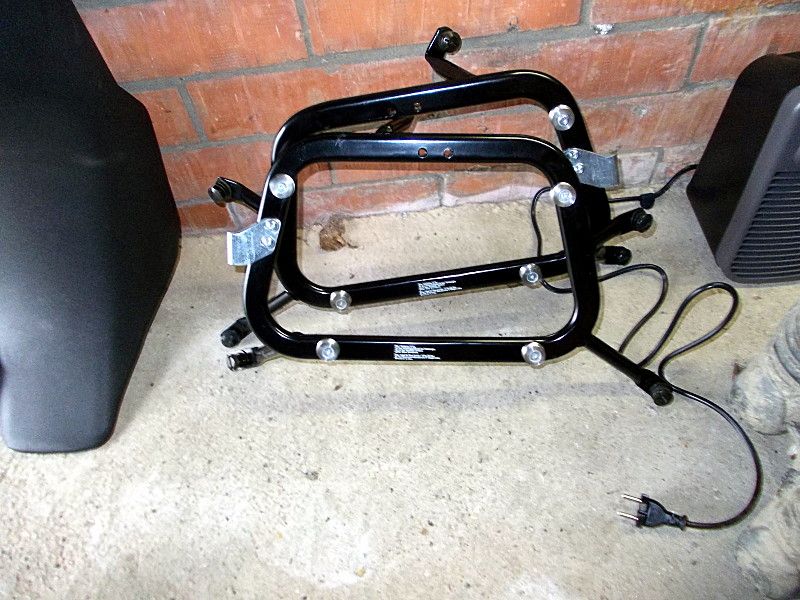
First thing to do -at least in my case- is to remove the pannier racks. These are SW-Motech Quick-lock, so with 4 half turns on each side they were off. Easy peasy.
Then the seat comes off. Then it's time for the Givi top case carrier. First the passenger grab rails need to go. Pop off the plastic caps and undo the hex bolts. 2 on each side. Then 2 more hex bolts for the givi carrier. Off they come. 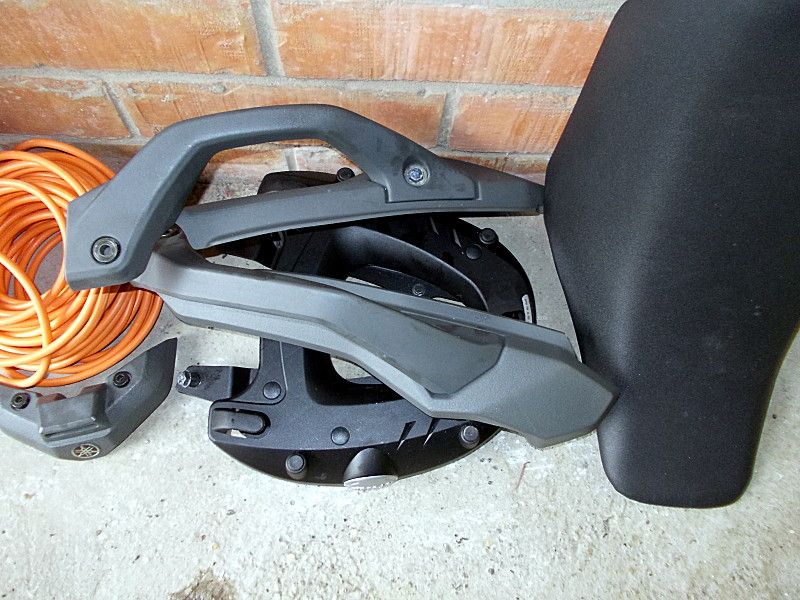
Finally the small original top case holder and the thin plastic plate held by it are removed. 2 nuts underneath the tail and it is all gone. Now we're left with this: 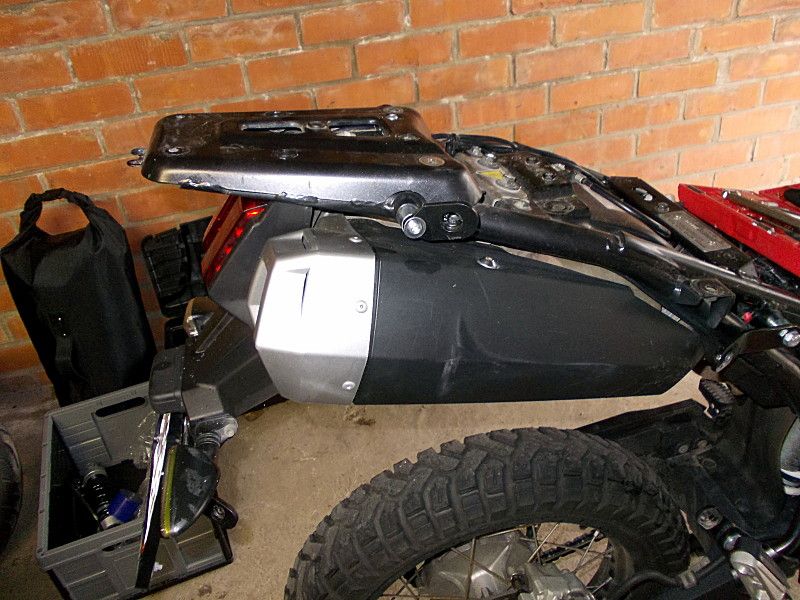
Last edited by duibhceK; 07-04-12 at 23:18. |
|
#
3
|
|||
|
|||
|
Next up is the entire tail piece. It comes off in 1 piece, including rear light, indicators, license plate holder.
There, s 4 plugs that need to be disconnected and some tie-wraps to be cut. The plugs are located on the lhs near the fuses. Then 4 allen bolts at the top of the tail piece. 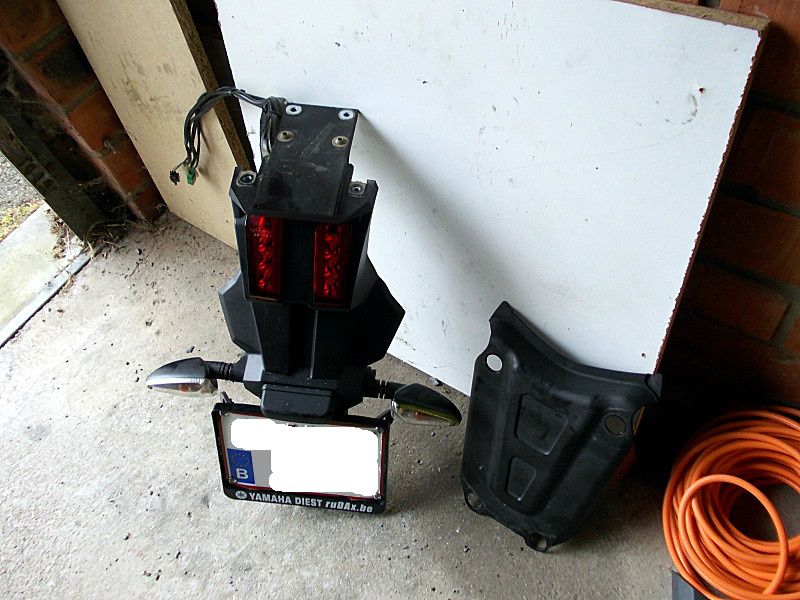
Result: 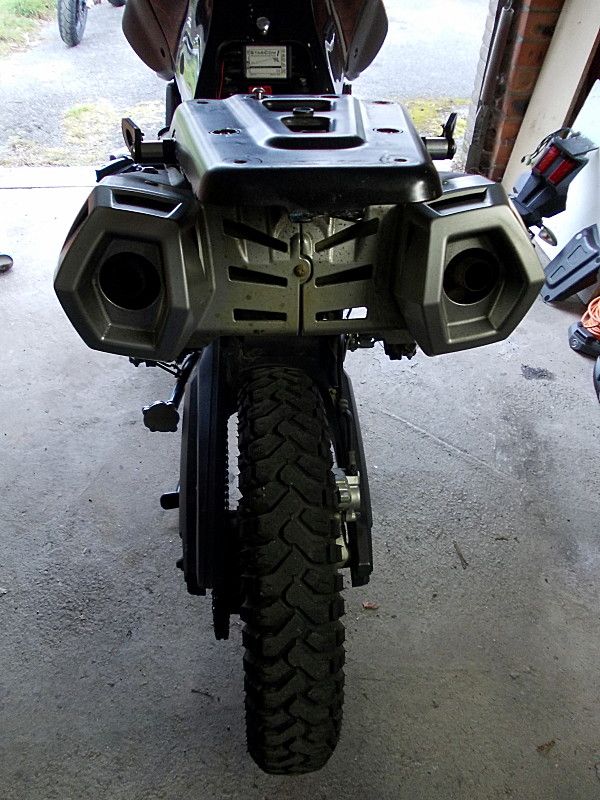
|
|
#
4
|
|||
|
|||
|
Continue with the plastic exhaust cover.
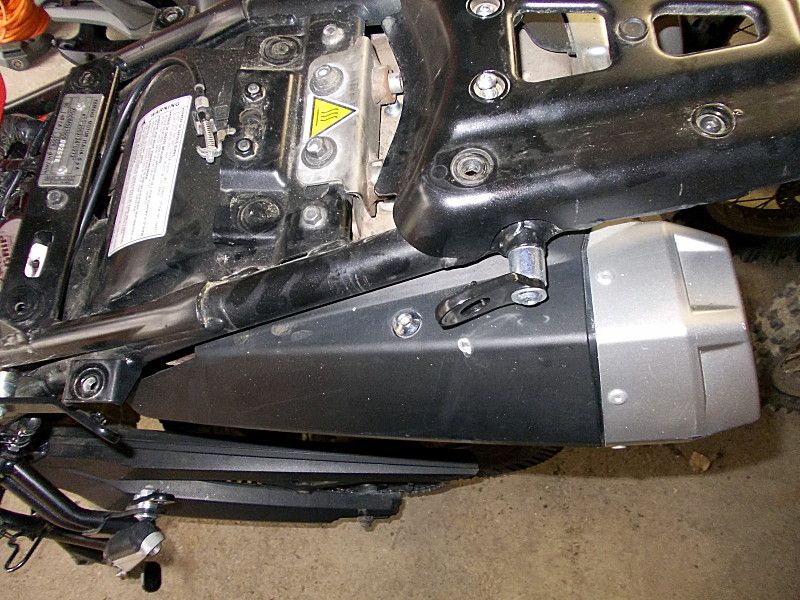
2 allen bolts at the top and 4 more underneath. 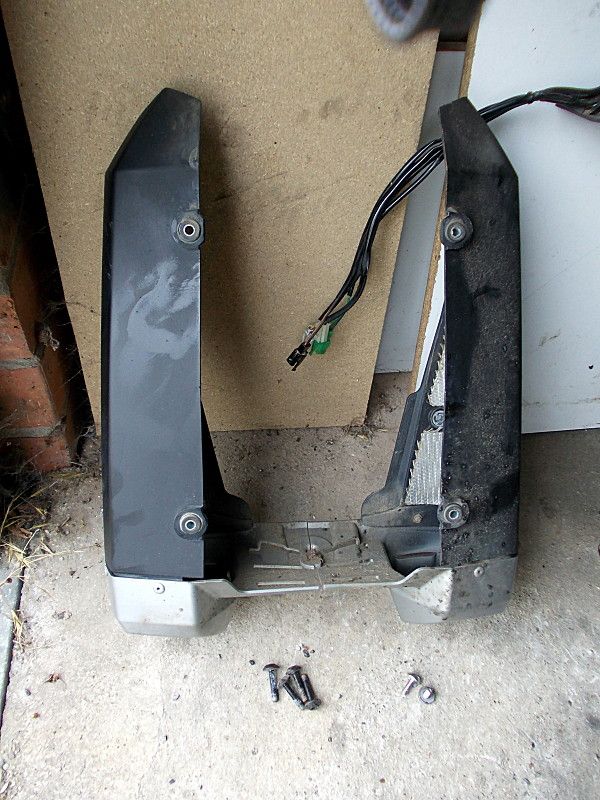
Starting to look pretty naked: 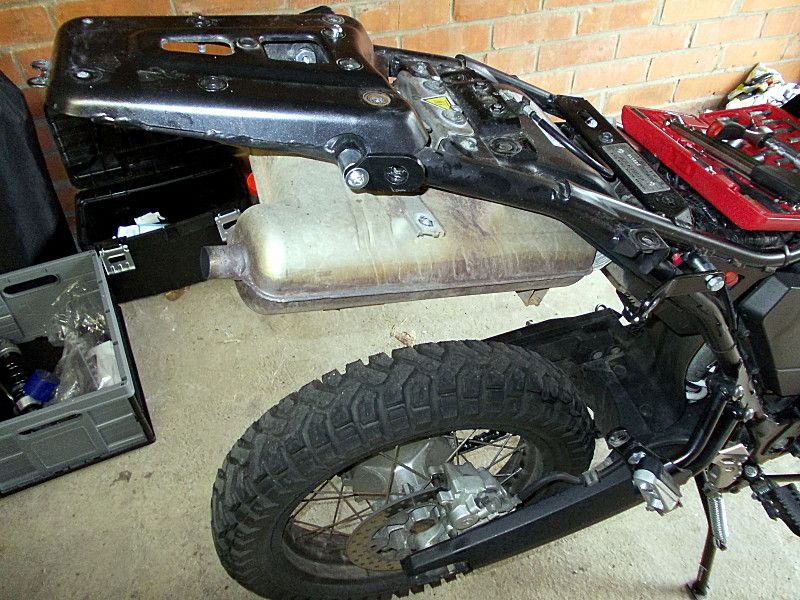
|
|
#
5
|
|||
|
|||
|
We're finally ready o remove the exhaust itself.
Loosen the bolt that connects the exhaust to the Y-piece. 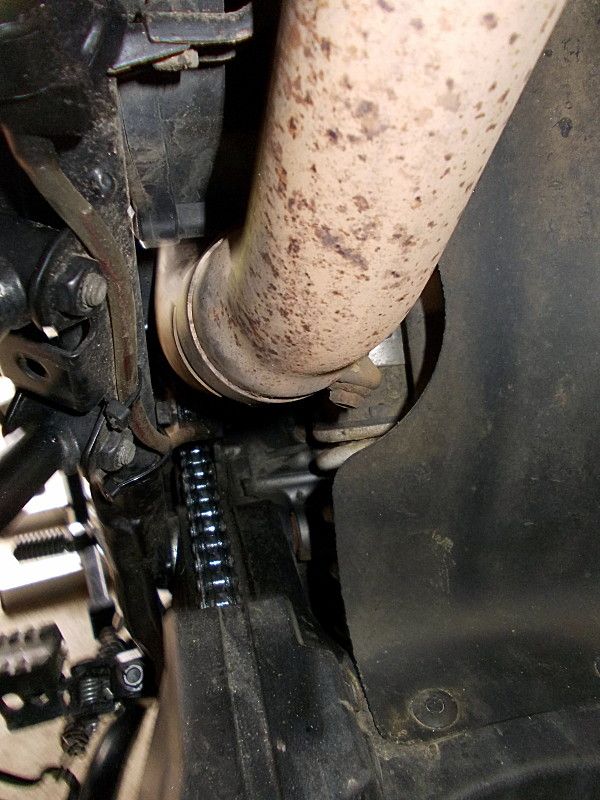
2 more allen bolts between the exhaust and the tail sub frame, then wriggle the exhaust off. 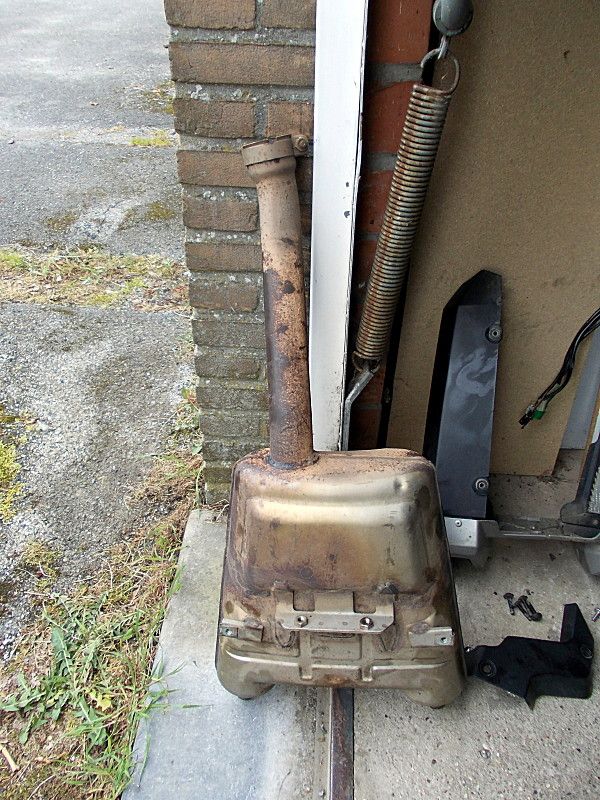
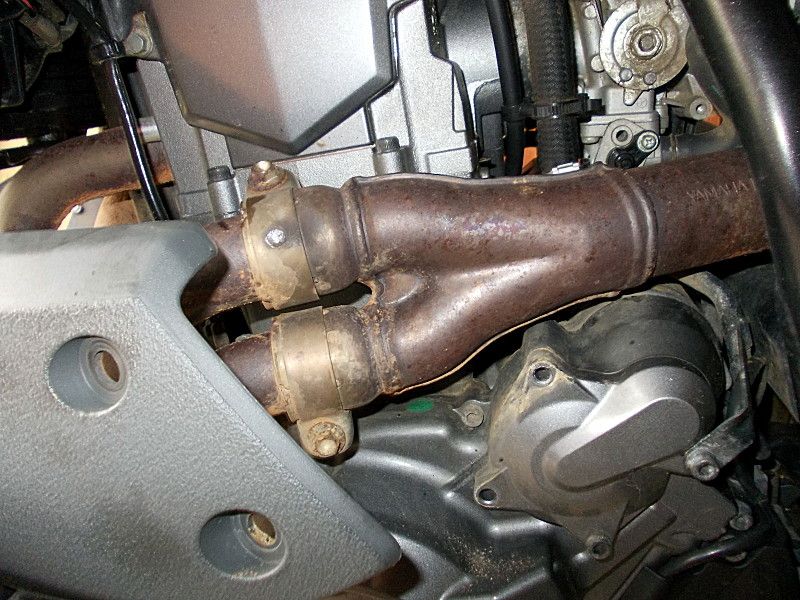
Then remove the plastic cover on the left hand side (2 allen bolts), underneath the airbox. Also remove the heat shield covering the Y-piece. You'll fist have to take out the bolts of the lower front fairing plastic that attach it to the heat shield. No need to take it off entirely, it bends away far enough to get the heat shield off. The shield itself is still fixed with 2 more allen bolts. Get these out and you have free access to the Y-piece. 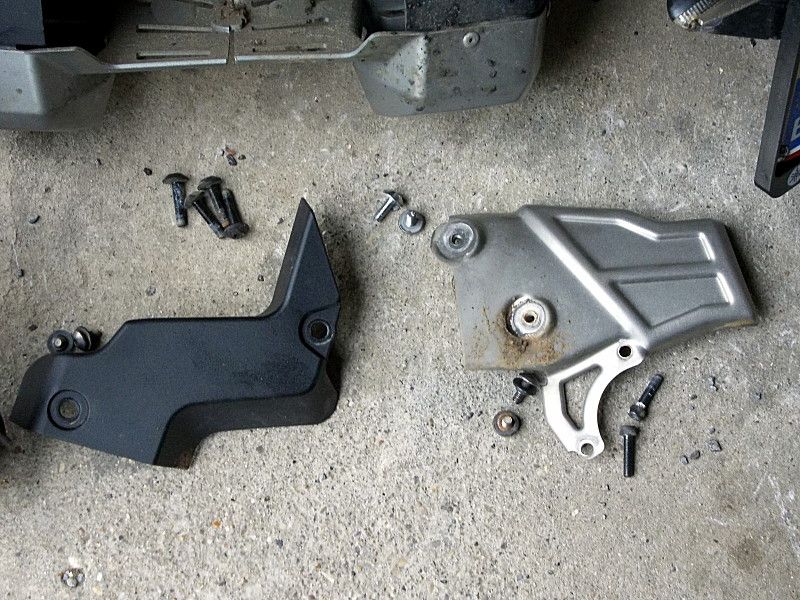
|
|
#
6
|
|||
|
|||
|
Time to take out the Y-piece. 2 Hex bolts to loosen to disconnect the Y-piece from the header pipes. 1 bolt underneath the air box.

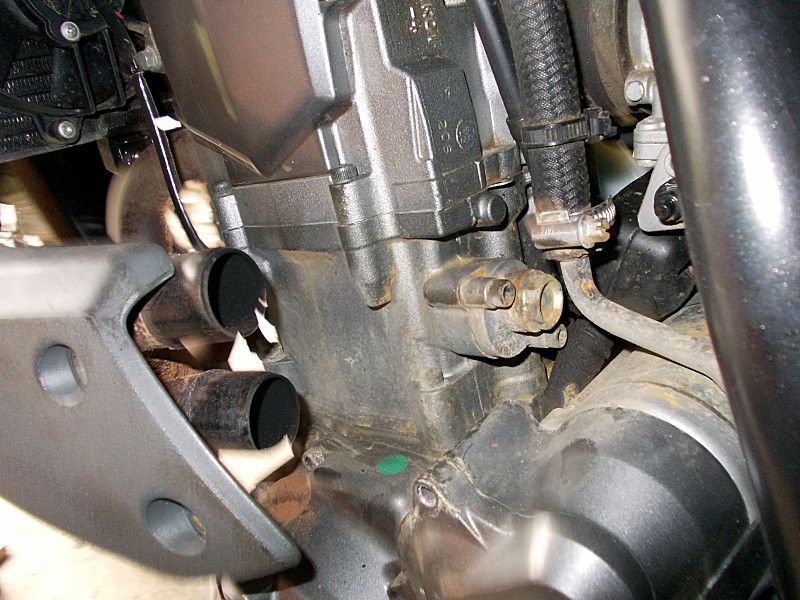
And finally here's why we are doing all this: unrestricted access to the top of the rear shock. 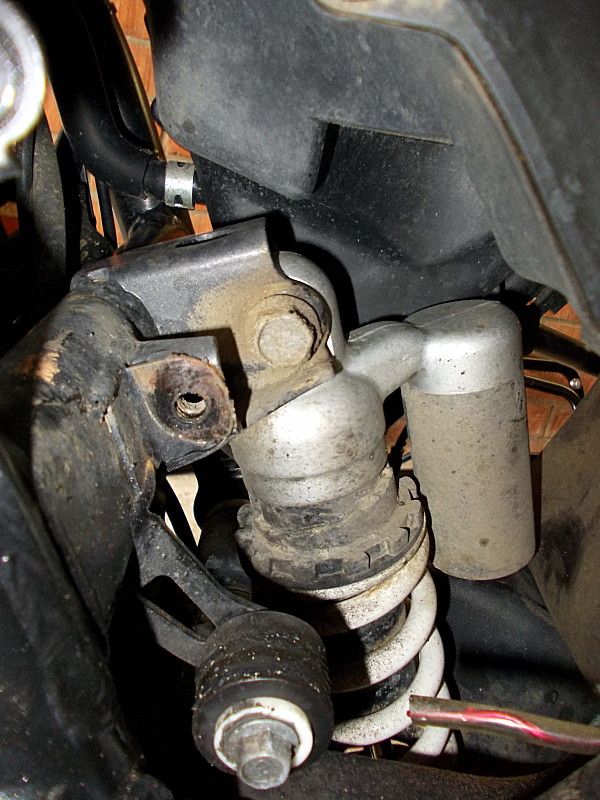
|
|
#
7
|
|||
|
|||
|
+1 for a sticky
Sent from my iPad using Tapatalk HD
__________________
"Because it's there" |
|
#
8
|
|||
|
|||
|
Well written and great pics, well done!!
__________________
(Now sold on, sob) 2011 Blue XT660X with gold wheels, was 26,500 km. Engine mods: K&N Stage 1 filter, DNA Stage 2 filter, snorkel removed, Kev fuel mod fitted. Plus: smoked Puig screen, Yam aluminium sump guard, Yamaha / Acerbis handguards, Givi Trekker aluminium side cases, Leo Vince X3 cans plus Kev front fork mod and Fender Xtender. Just fitted Michelin Road Pilot 3 tyres. SOLD the XTX for a Super Ten 1200. And just bought a Raptor 700 so staying on here for some tips.... |
|
#
9
|
|||
|
|||
|
2011 abs
Hi there!
Do you guys know what rear shock would fit the ABS-version? Will the one you described above fit? Thanks! /Magnus, Sweden |
 |
| Thread Tools | |
| Display Modes | |
|
|